How to apply fusible interfacing?
Fusing process
Also known as the “glueline”, the melting point is the temperature at which a substance (the coating) changes from a solid to a semi-liquid (viscous) state. Please note, we are referring here to the temperature of the glue, and not that of the fusing press. At Chargeurs PCC, this temperature is available on all our product and technical data sheets.
What is the fusing process of fusible interfacing?
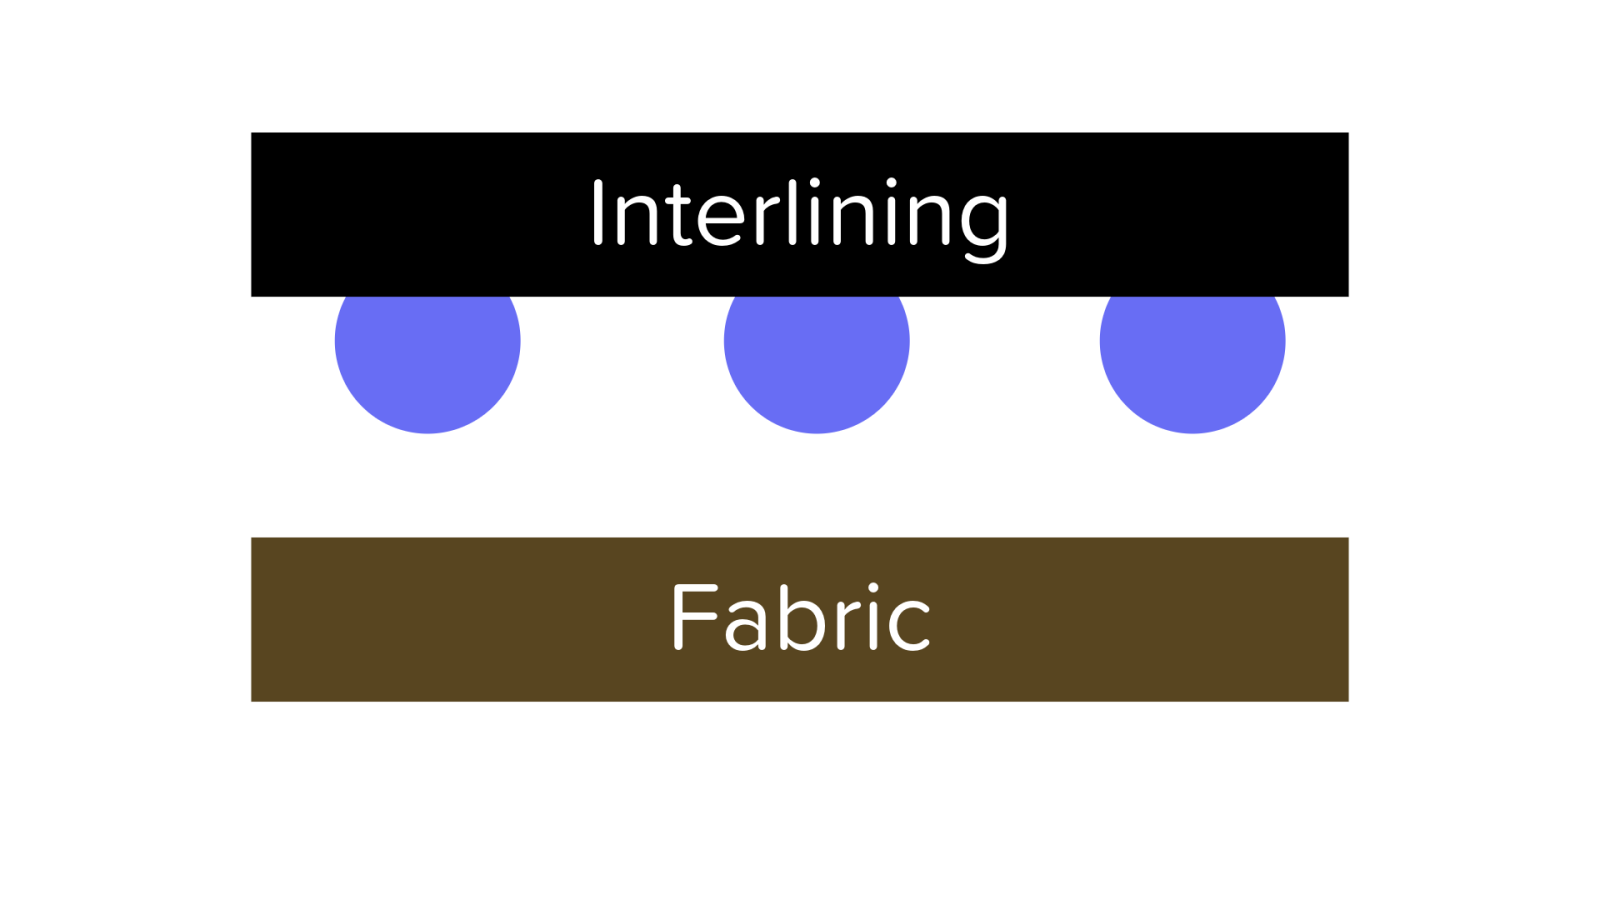
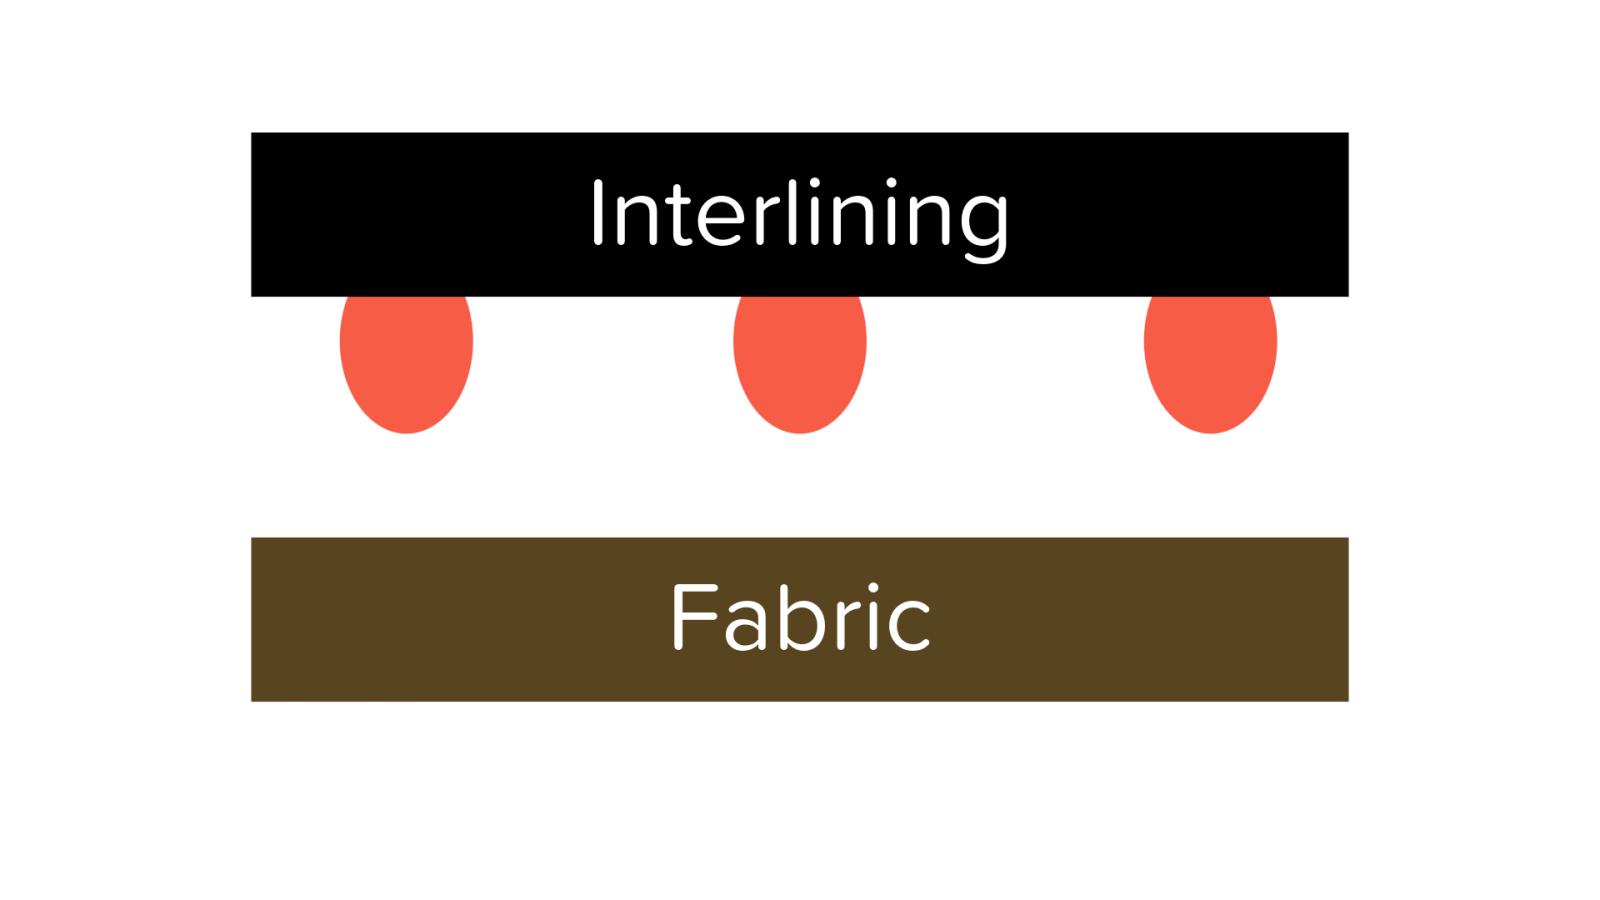
The fusing process of Fusible interfacing is the bonding of an interfacing and a textile using glue dots. It can be broken down into several steps:
Before fusing
Heating
Pressure
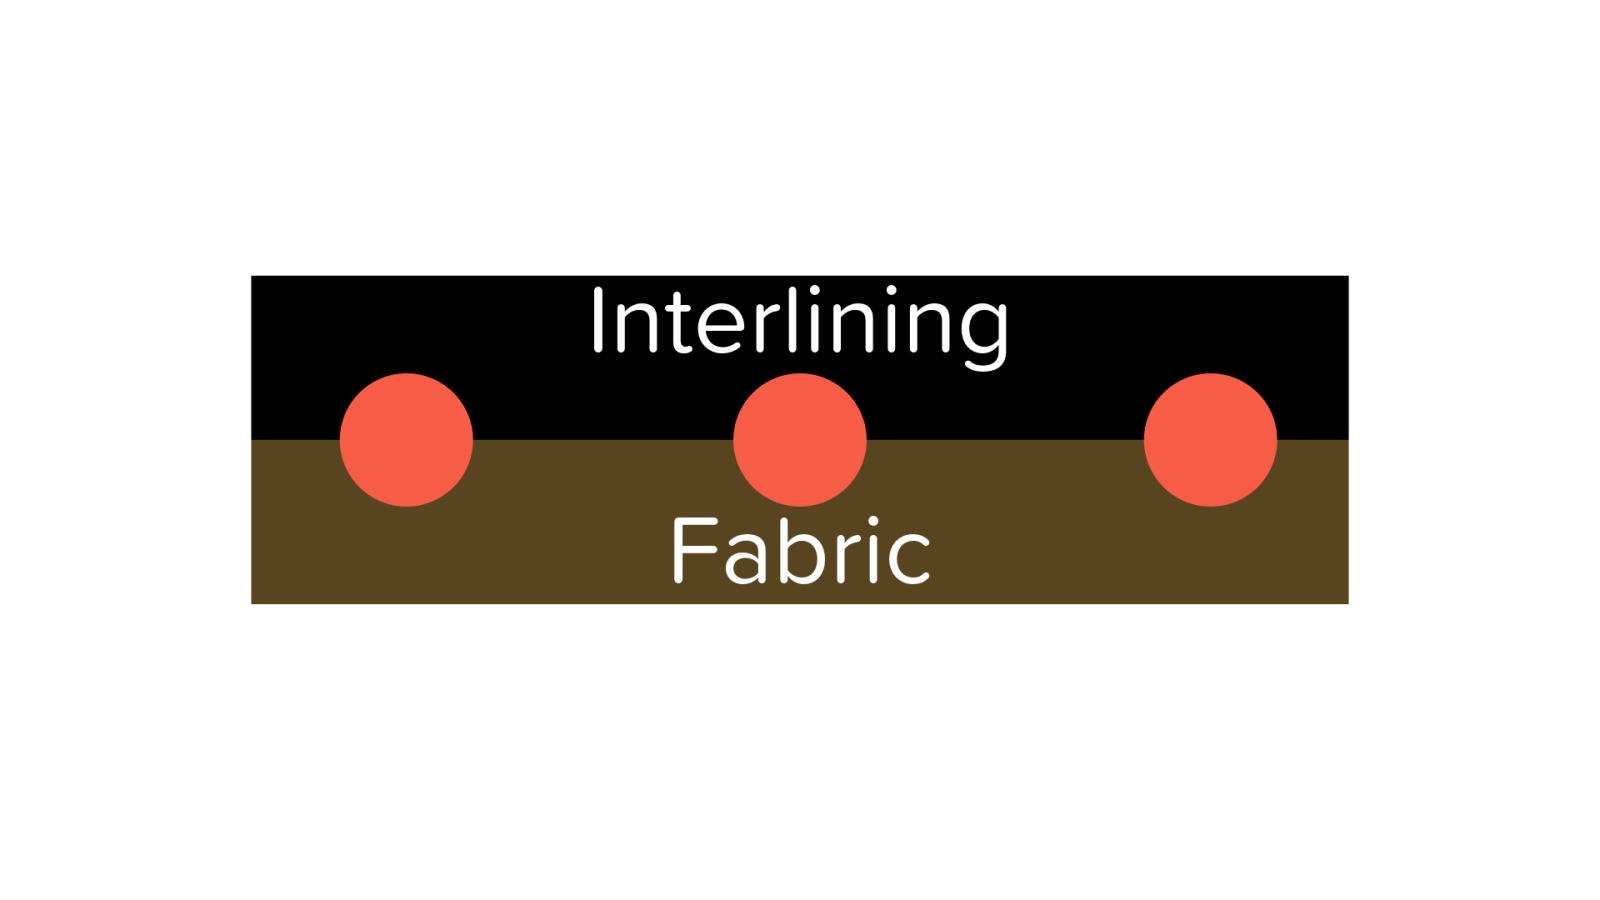
Cooling
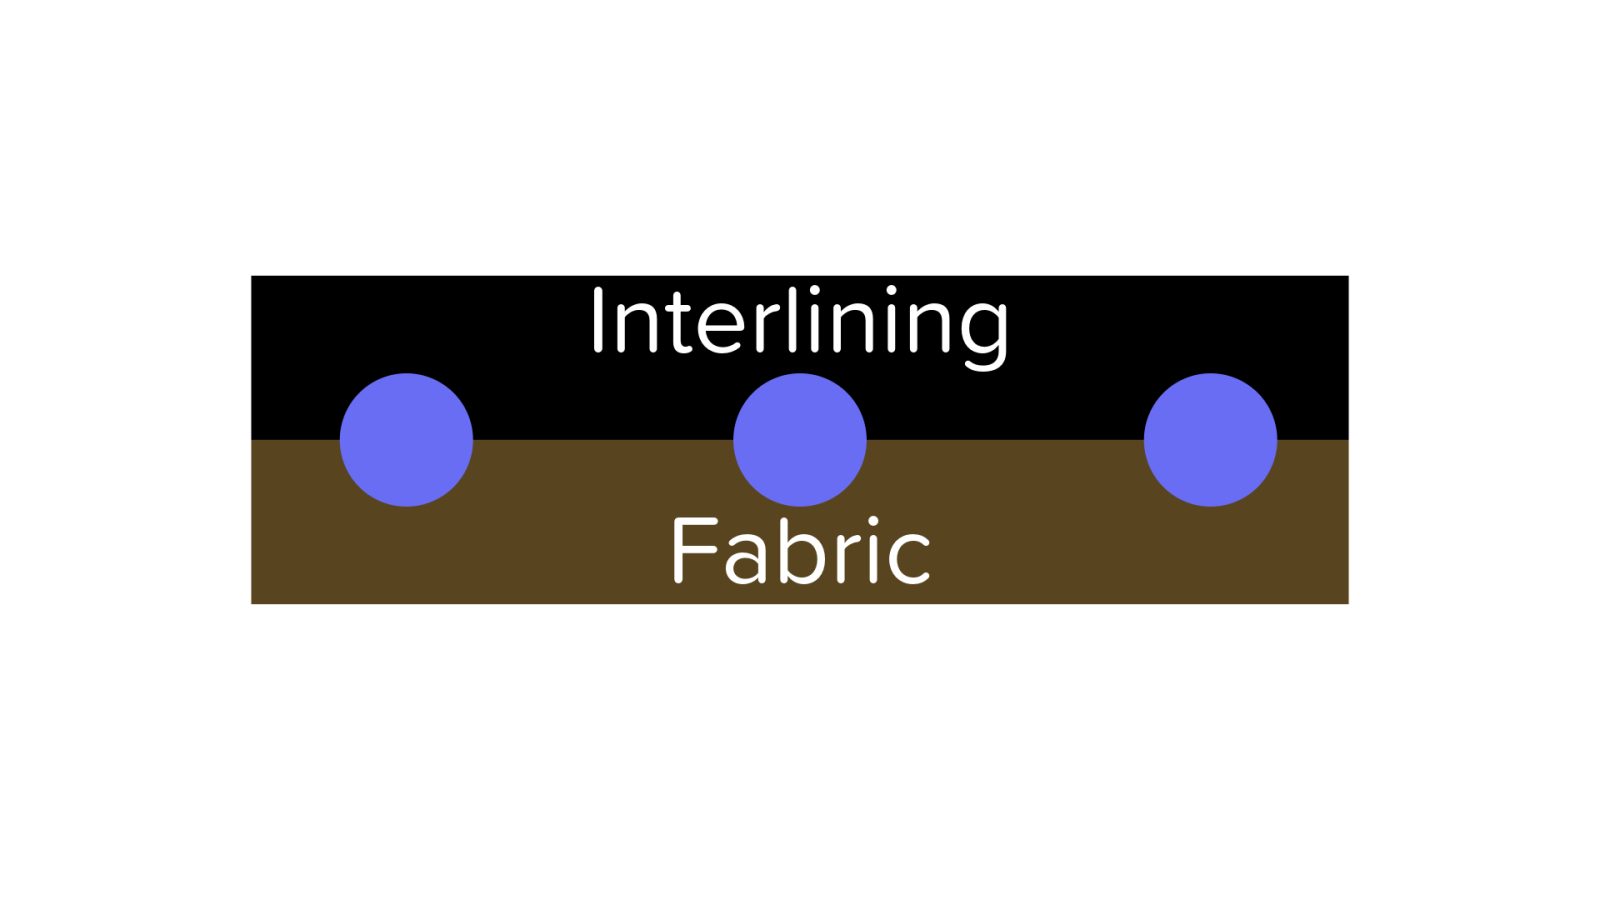
Three temperature levels should be distinguished for interfacing fusing:
- Low temperature: 80°C-110°C (flat iron application and also for so-called “fragile” fabrics that do not support high temperatures, such as leather)
- Standard temperature: 121°C-127°C
- High temperature: 138°C-143°C (must be performed on a professional press to guarantee good adhesion—a household iron will never reach these temperature settings)
How to apply fusible interfacing correctly?
For fusing to occur correctly, three conditions must be met:
- Heating the glue to the right temperature: The melting temperature depends on the textile base and the type of coating used. For example, a fusible interfacing to be applied to a shirt will have a melting temperature of 155°C-165°C.
- Adequate heating time: Generally 10 to 15 seconds, but this depends on the glue, the type of textile, and the type of fusing machine.
- Adequate pressure: In bars for continuous presses, in g/m² for flat-bed presses.
Fusing machines
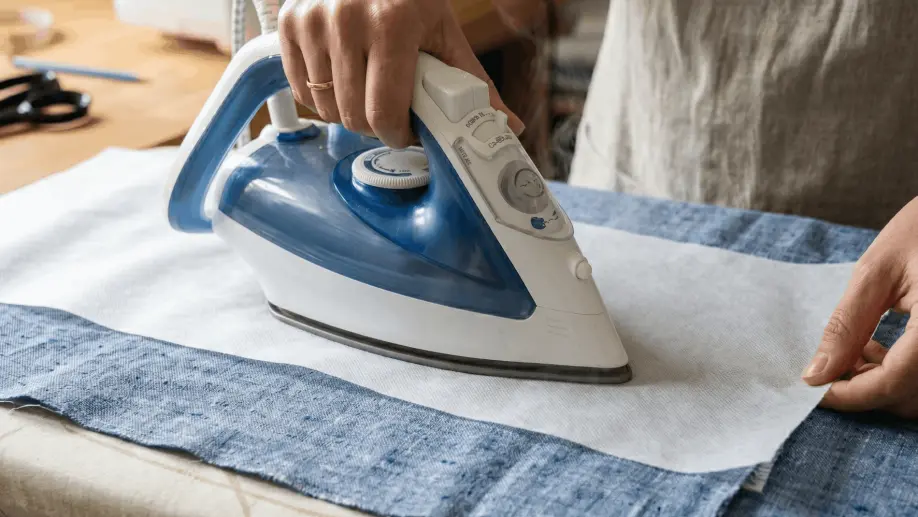
The flat iron
This is by far the most economical and simplest option for small creations requiring low temperatures (for example, if you want to make a fusible hem at home).
However, it is more difficult to precisely achieve the target temperature and pressure with an iron than with an industrial press.
The flat-bed press
Also called a platter press, this solution offers good value for money. The press is managed electronically and allows you to reach the desired temperature and pressure more accurately than with an iron. However, watch out for wear and tear, which can occur if garments are always placed in the exact same spot in the press.
The continuous fusing press
The ultimate professional solution: the three conditions (time, temperature, and pressure) are automatically managed, eliminating wear-and-tear issues. The interfacing and fabric are placed on a conveyor belt passing between rollers that adjust the pressure. However, this solution has a higher cost and is suitable for large-scale industrial production.
Conclusion: which fusing machine should be used for which application?
| Machine | Advantages | Disadvantages |
|---|---|---|
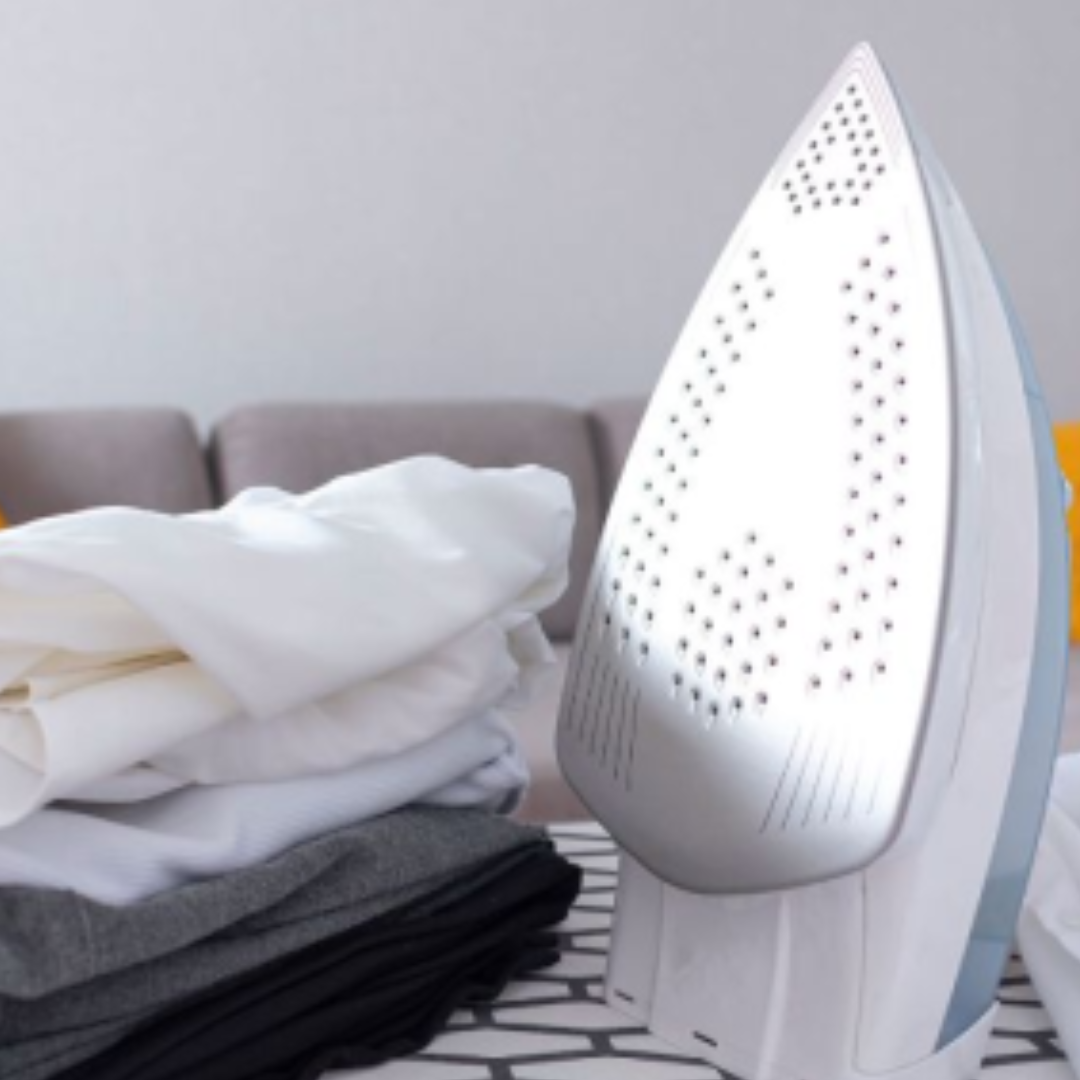 Flat iron | Economical and ideal for small creations. | Difficult to achieve the desired temperature and pressure accurately. Highly dependent on the operator. |
 Flat-bed press (or platter press) | Electronically managed, good value for money, suitable for medium-sized production. | Risk of rapid wear if garments are always placed in the same spot, leading to a risk of uneven bonding. |
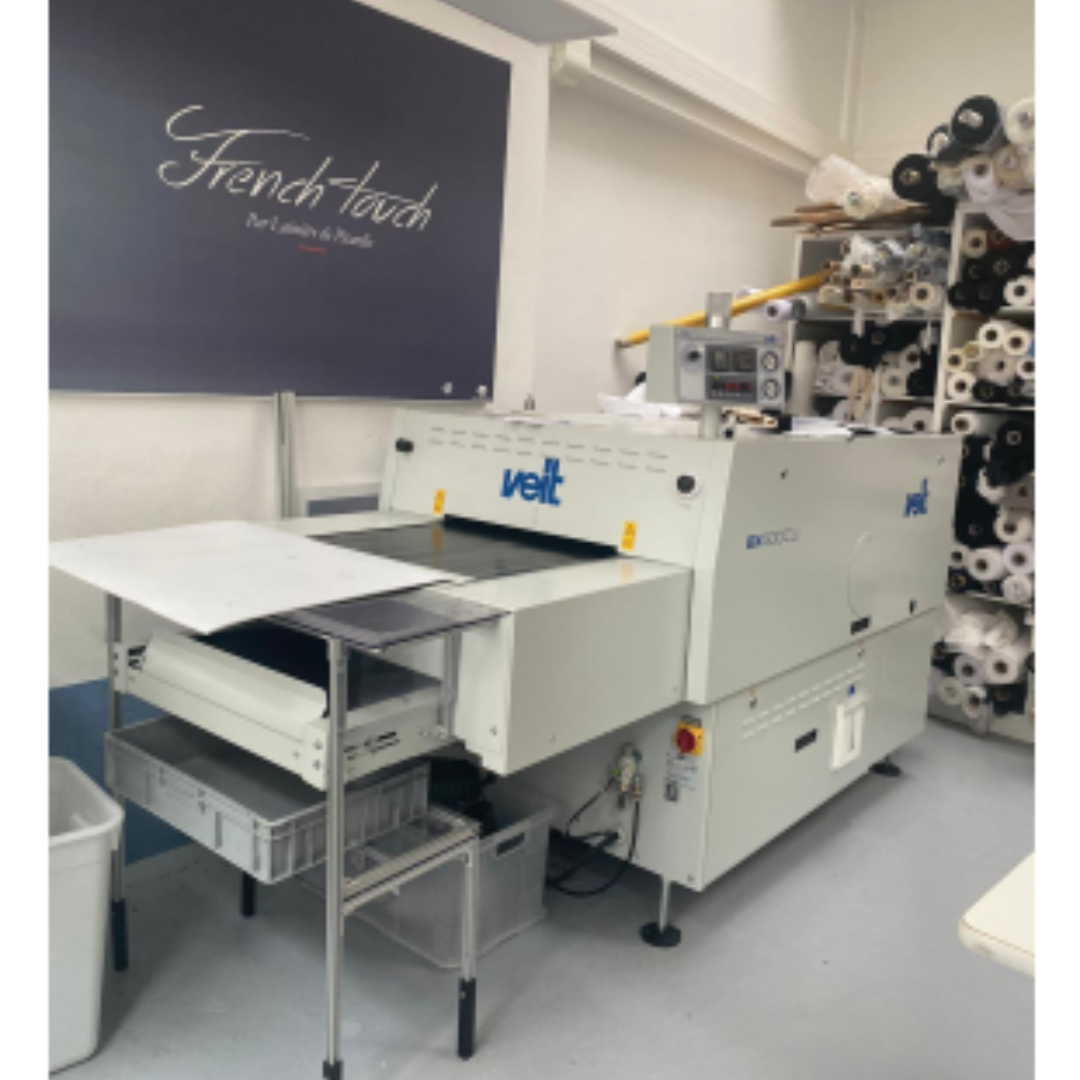 Continuous fusing press | Time, temperature, and pressure managed automatically. Ideal for large-scale industrial production. | High cost. |
Possible application defects
| Defect | Definition | |
|---|---|---|
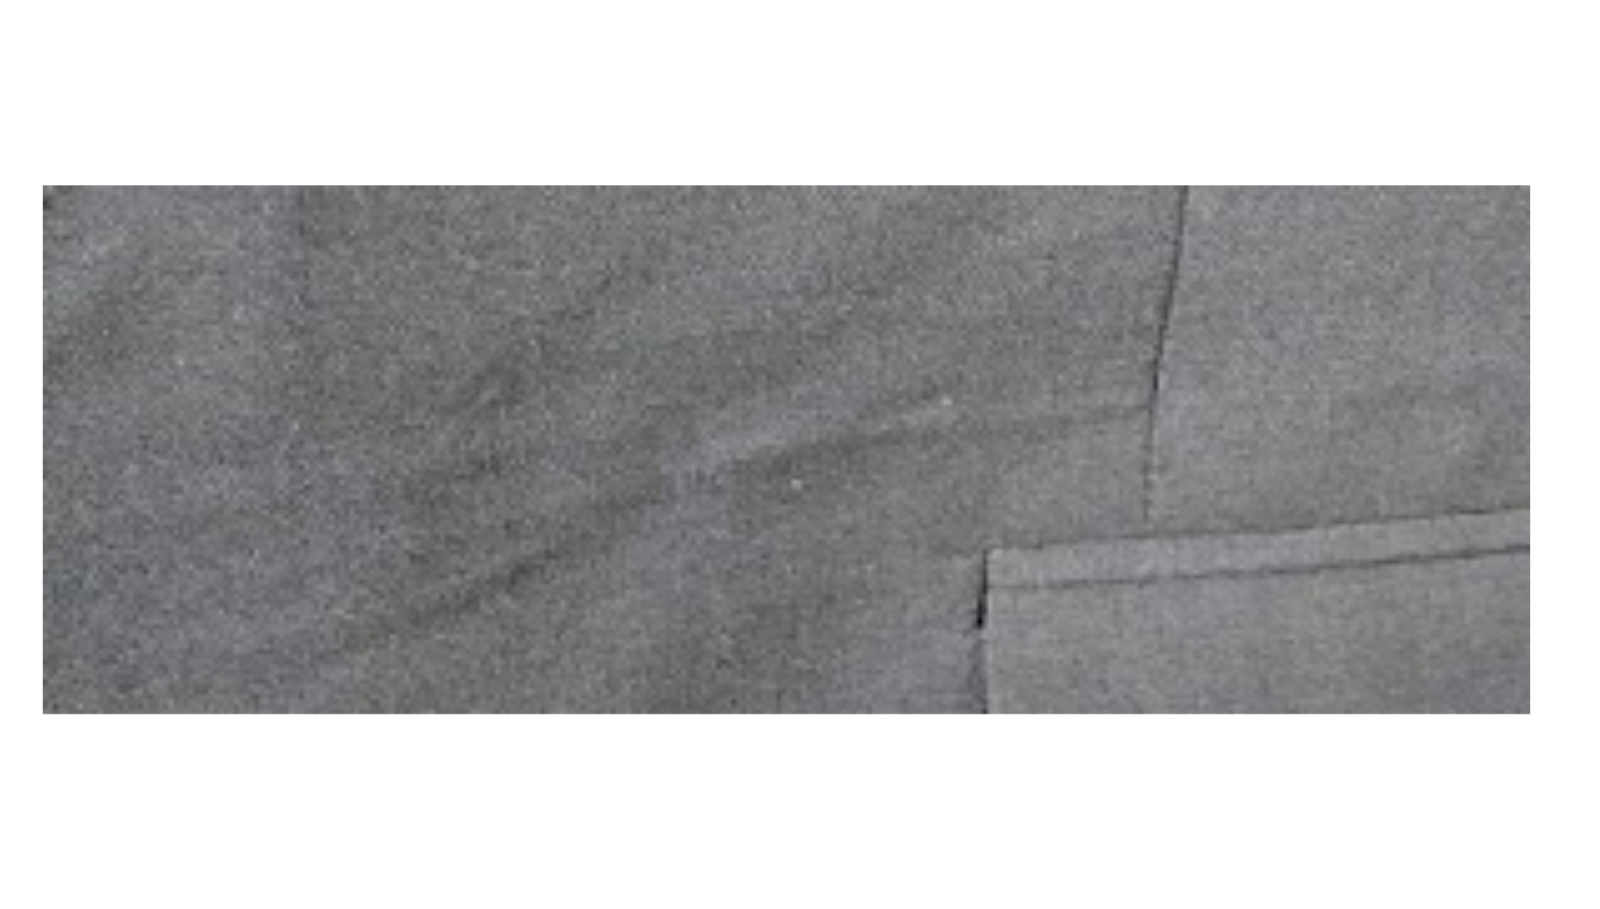 | Bubbling / Blistering (Under-fusing) | An application defect that occurs during under-fusing. It manifests as small bubbles or a "puckered" appearance on the fabric surface once the interfacing is applied. |
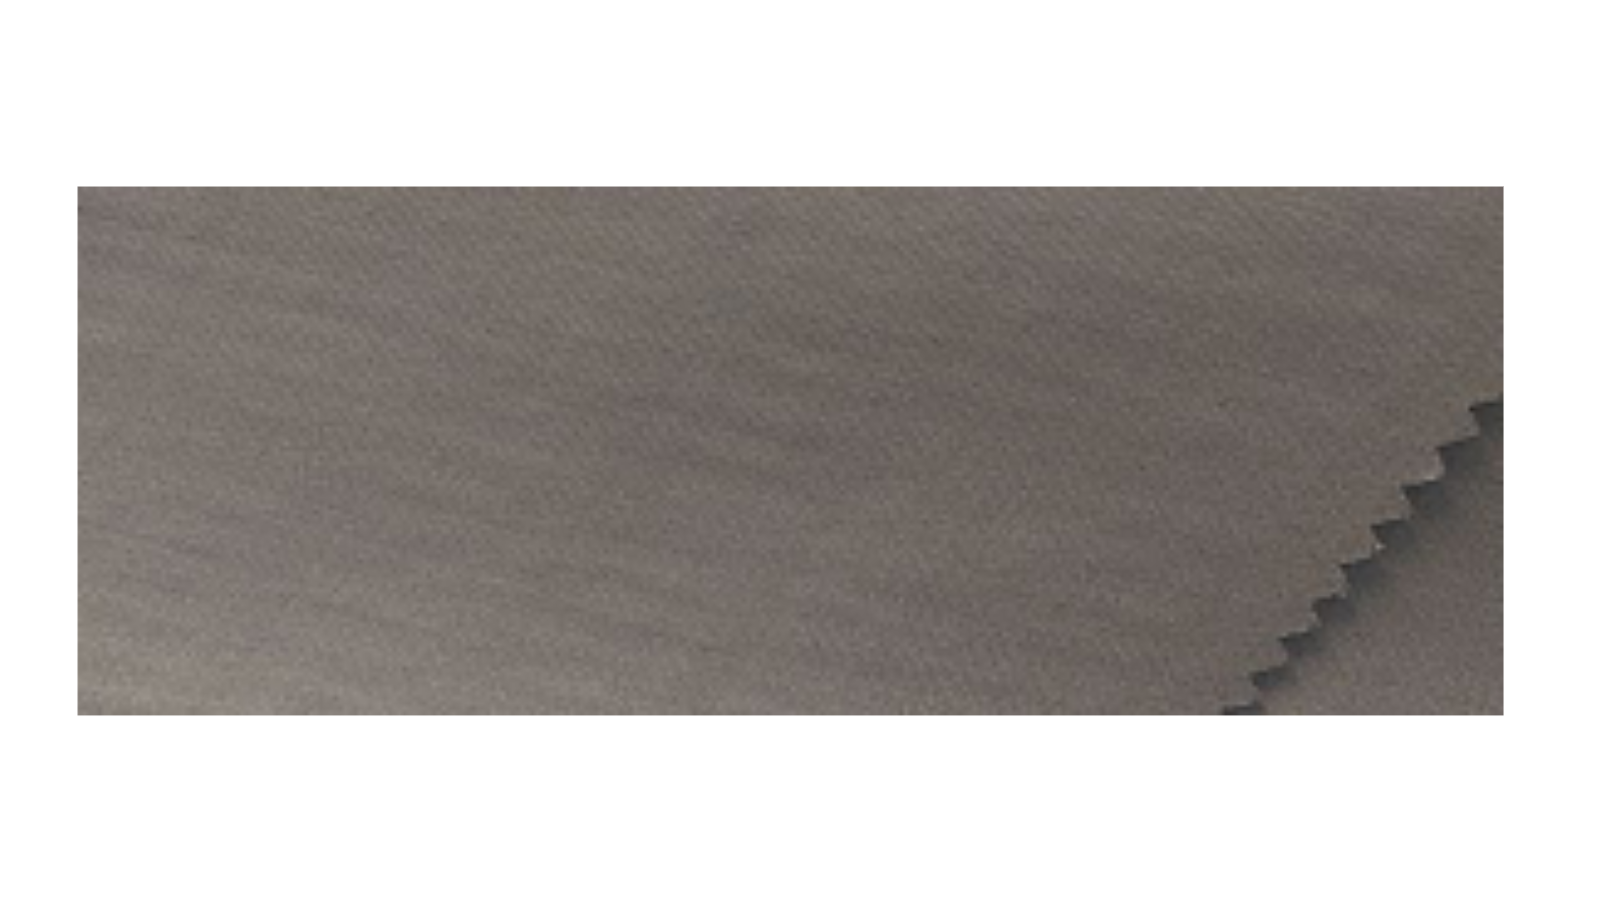 | Shrinkage ridges / bars | The interfacing does not follow the movement of the fabric during fusing. This defect occurs when a stable interfacing is applied to an unstable fabric (or vice versa), causing "ridges." |
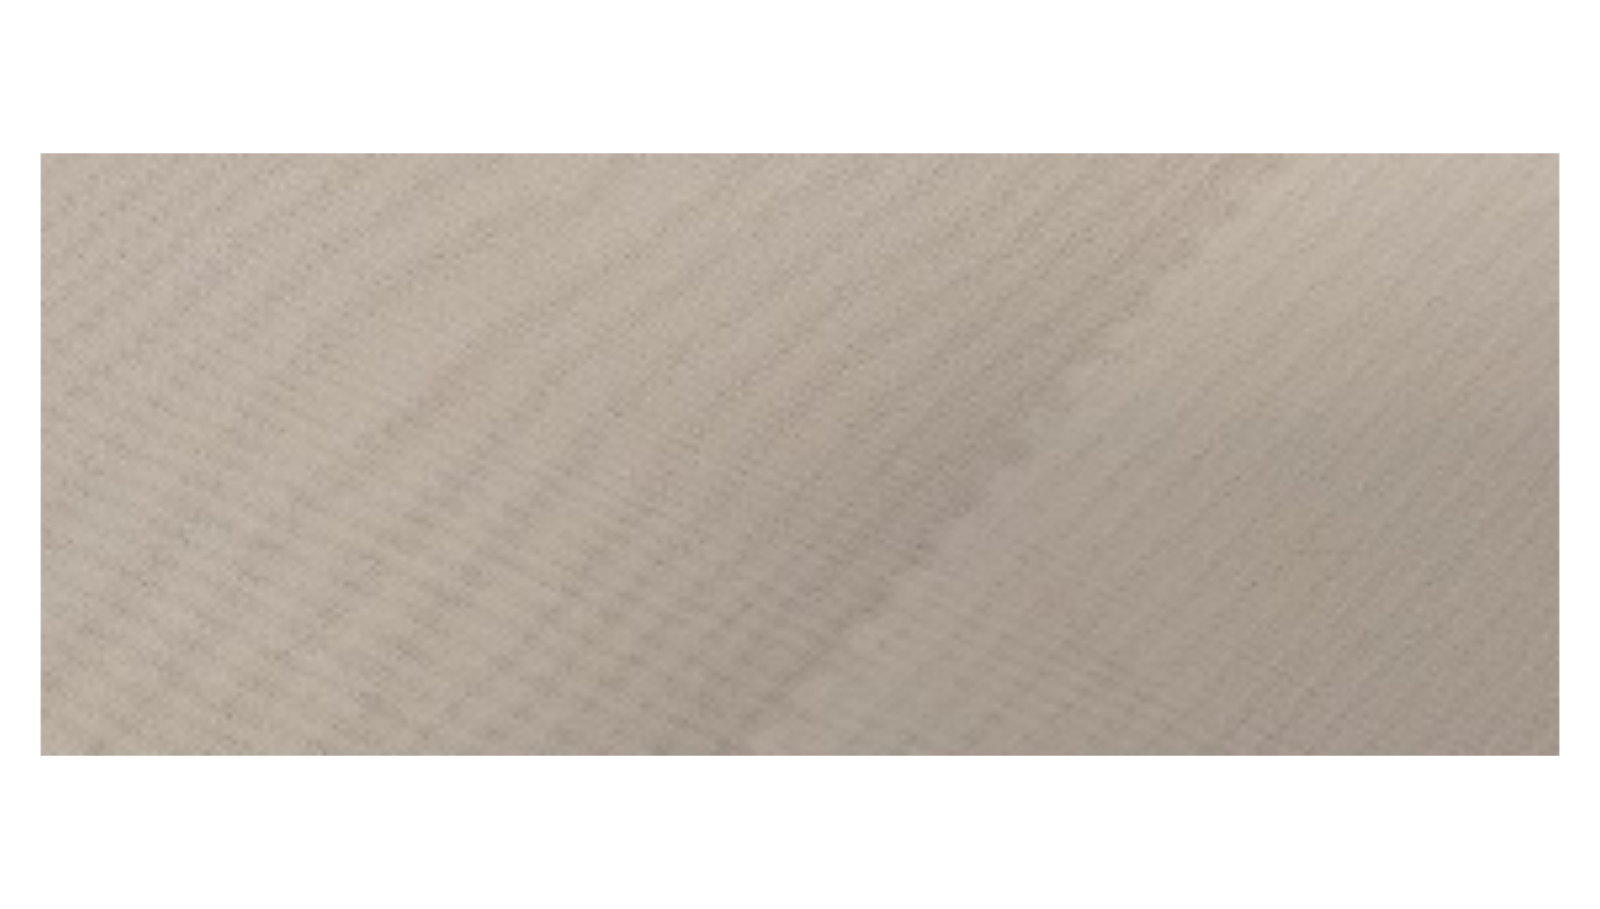 | Moire effect | Incompatibility between the structures of the fabric and the interfacing. In case of incompatibility, a "zebra" pattern appears (especially on fine fabrics). |
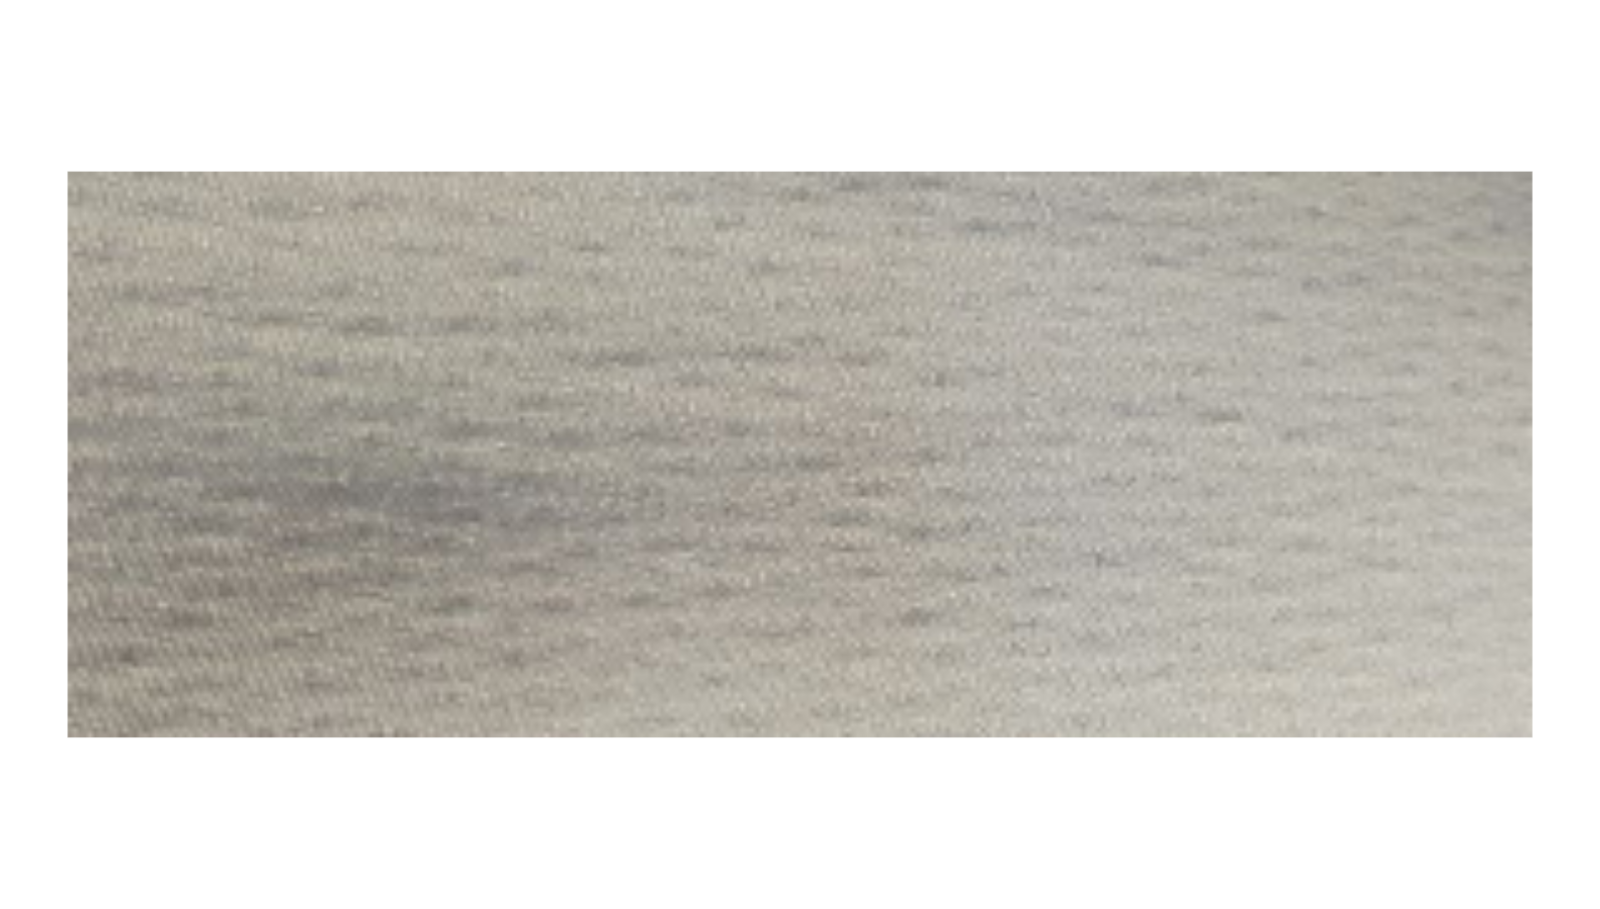 | Orange peel effect | Coating dots are too large. |
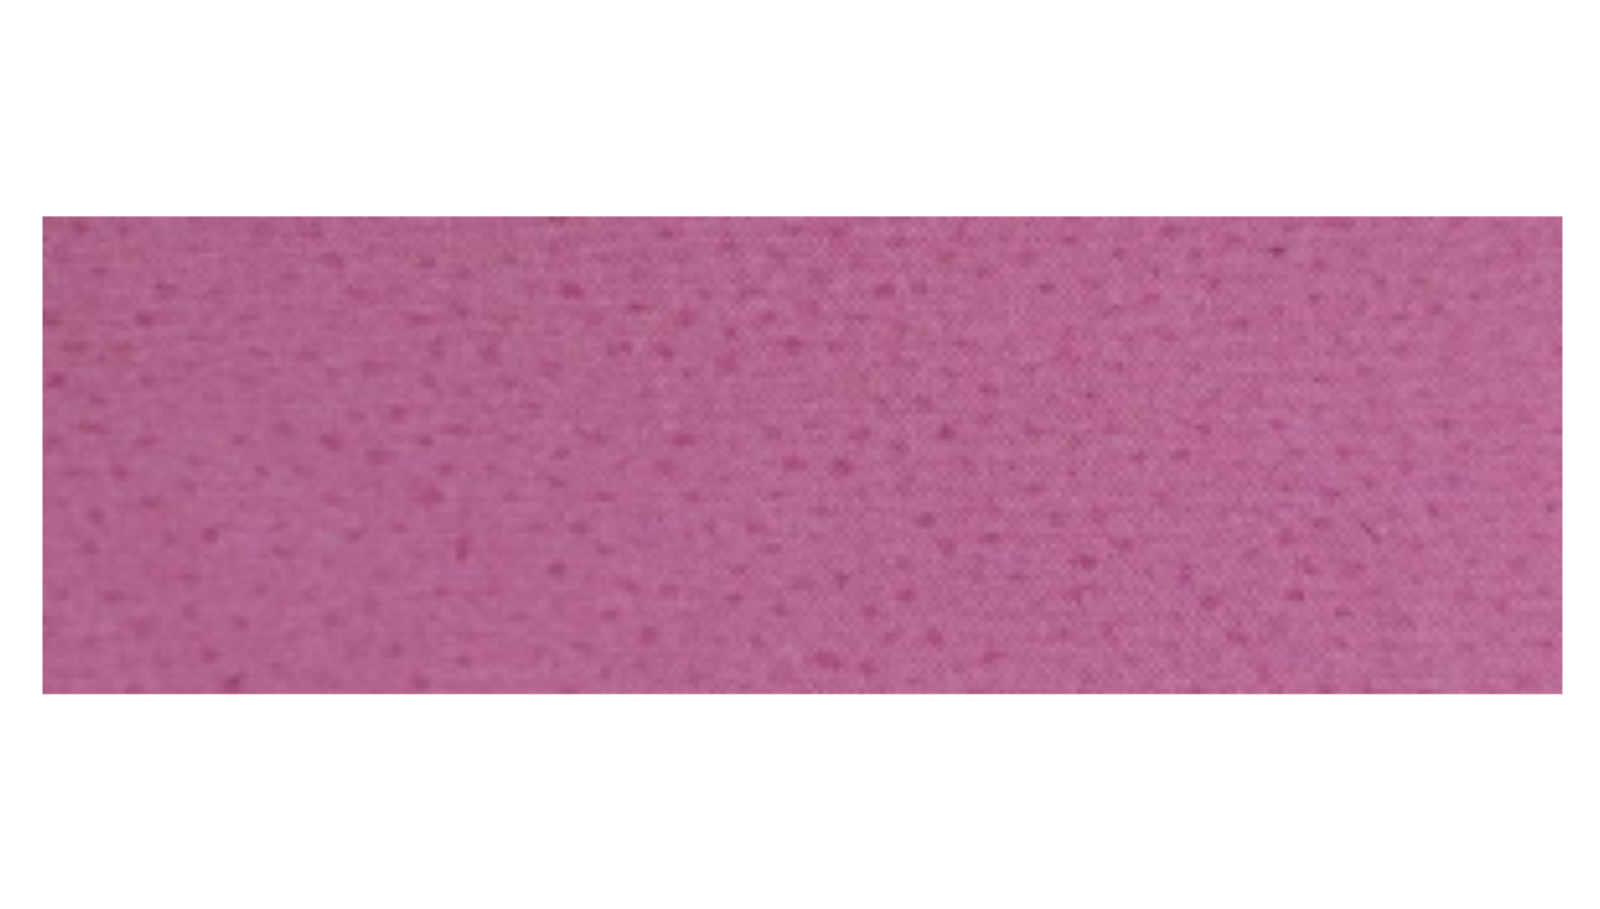 | Coating strike-through (Over-fusing) | The coating dots penetrate through the fabric. |
In summary, fusible interfacing is much more than a simple accessory: it is the invisible structure that guarantees a garment's style and longevity. As we have seen, successful fusing is not a matter of chance, but of a precise balance between temperature, time, and pressure.
Whether you use an iron for artisanal pieces or a continuous press for industrial production, vigilance is key. Under-fusing will inevitably lead to bubbling, while a poor choice of textile base can cause moire or shrinkage effects.
The 3 golden rules for a flawless result:
- Refer to the technical data sheets: Do not guess the fusing temperature (glueline); check the manufacturer's data, such as that provided by Chargeurs PCC.
- Always test beforehand: Run a test on a scrap piece of your final fabric to validate the hand (feel) and adhesion.
- Respect the cooling time: The glue must polymerize completely before any handling to avoid distortion.
Mastering these technical parameters ensures that your garments will keep their shape and beauty, wash after wash. Ready to take action? Discover our full ranges of interfacing or contact our experts to choose the solution perfectly tailored to your needs.
FAQ: Fusing problems and solutions
Why is my fusible interfacing bubbling?
The appearance of bubbles is generally a sign of incomplete adhesion between the interfacing and the fabric. Several factors can cause this:
- The temperature is too low: The glue did not reach its melting point and could not penetrate the fabric fibers.
- The pressure is insufficient: The glue dots were not pressed uniformly against the textile.
My interfacing bubbles after washing, what should I do?
If bubbling occurs after washing or dry cleaning, it is a sign of under-fusing during the initial application. The glue was not securely anchored, and the stress of water or heat eventually detached the two layers.
The solution: For your next pieces, slightly increase the application time or pressure, and always let the fabric cool flat for at least 20 minutes before handling it.
How do I know if my interfacing is applied correctly?
To avoid defects, perform a simple test: after full cooling, try to peel back a corner of the interfacing. If you feel strong resistance and see the fabric fibers lifting slightly with the glue, the fusing is successful. If the interfacing peels off effortlessly, you need to adjust your settings (heat or pressure).
Can I fix a fabric that has bubbled?
It is sometimes possible if the glue has not been compromised. Try pressing the area again with firm pressure and adequate heat (without steam). However, if dust or steam has trapped inside the bubble, the result will never be as clean as a successful initial application.